
Learn to make unique handmade ornaments for the holidays and beyond.
The most cherished gifts are made with love.
Are you looking for the perfect gift that is both heartfelt and budget-friendly? Look no further! Making handmade ornaments not only allows you to tap into your creative side but also proves to be incredibly cost-effective. The tools and materials are readily available and won't break the bank. The genuine effort and personal touch that come with a handmade gift make it a more meaningful and cherished present than any store-bought, mass-produced trinket. And the best part is the joy you’ll discover in making something by hand.

Join the email list and receive a beginner's kimekomi tutorial FREE!
Tutorial Collection
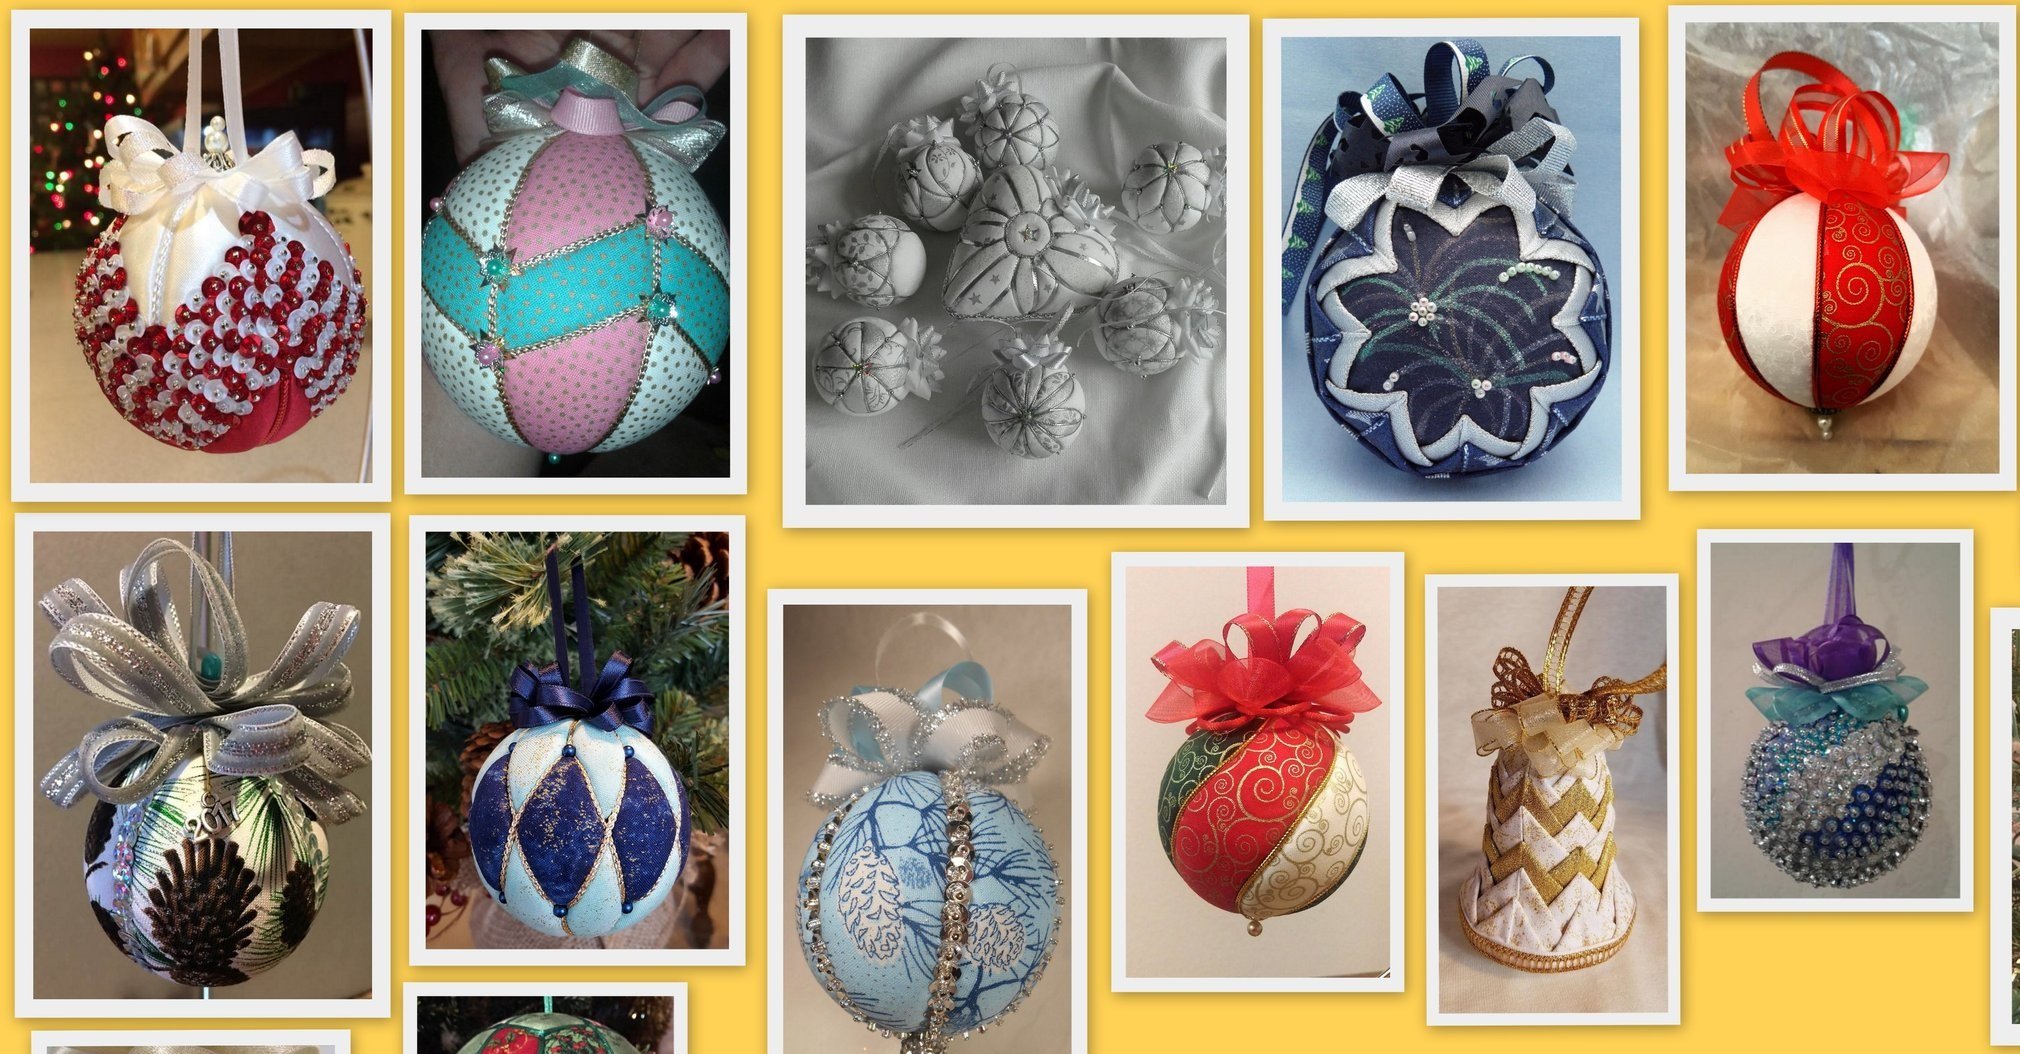
Once you've gotten the hang of a simple ornament, you're all set to explore some more intricate designs! I've got a bunch of affordable PDF tutorials waiting for you in my shop. In each tutorial, you'll find close-up photos and detailed instructions, complete with measurements in both centimeters and inches, ensuring you've got all the knowledge you need to create your masterpiece!
Not sure you want to spend the money without seeing a sample first? You are in luck! My free beginner’s tutorial is a free sample and follows the same format as all my tutorials. Sign up for my email list and grab your freebie today!
I recommend the Circle Picture Window or Harlequin designs for those making their first purchase.


Tutorial Reviews
-
"Good complete instructions with illustrations to help in understanding the pattern. Download received quickly. "
Kathy on Jul 11, 2022 via Etsy
⭐⭐⭐⭐⭐
-
"Great directions. Well pictured and well written. [Alyx] is very helpful and sweet. She's has gone above and beyond to help me. "
Victoria on Oct 9, 2023 via Etsy
⭐⭐⭐⭐⭐
-
"Great instruction with color photos. I felt very confident in completing the project"
Jennifer on Nov 29, 2021 via Etsy
⭐⭐⭐⭐⭐

More About Alyx and the Craft of Kimekomi
Hey there, I'm Alyx! At Ornament Designs, I wear many hats – owner, designer, writer, and instructor. I've been crafting ornaments for more than 25 years. Each ornament I create and every design I teach fills me with tremendous joy.
Discover the story behind kimekomi and Ornament Designs. Learn about the origins, the process, and the inspirations that make my brand unique.